 Loading... Please wait...
Categories
Our Newsletter
- Home
- DIY Sharing
DIY Sharing
Customers share their DIY LED builds with us.
Thank you! :-)
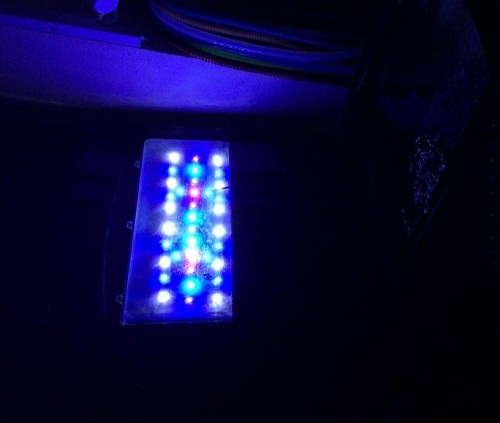
36 BridgeLux LED controller DIY kit on a Biocube 29
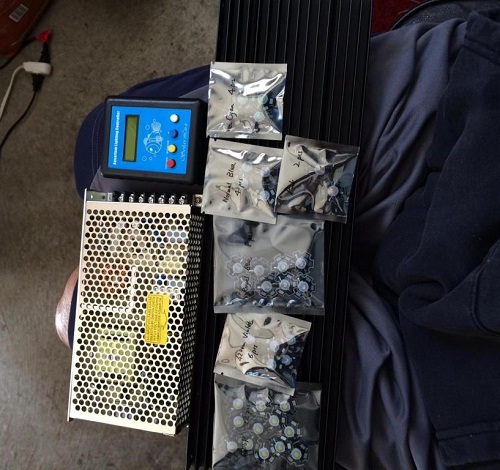
order consisted of:
36 Bridgelux LED Controller DIY kit
12cm X 2cm X 40cm Heatsink
Driving Board with 12cm fan (DC48V)
Driving Board with Moonlight kit
LED colors combination:
12 white 6500K, 8 royal blue, 4 normal blue, 6 violet, 4 cyan, 2 pink/magenta
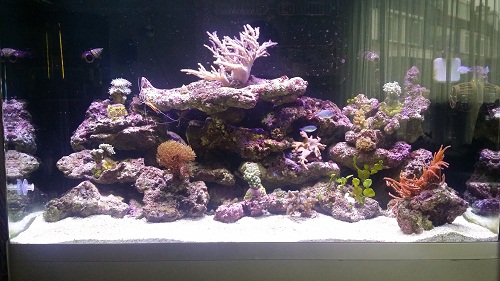
72 BridgeLux LED controller DIY kit on Red Sea Max 250
order includes:
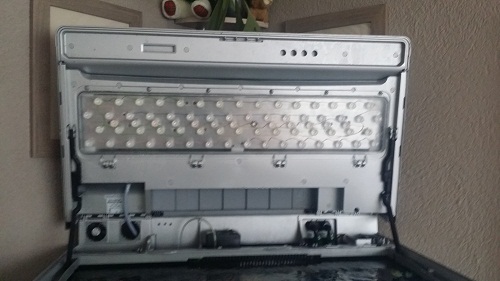
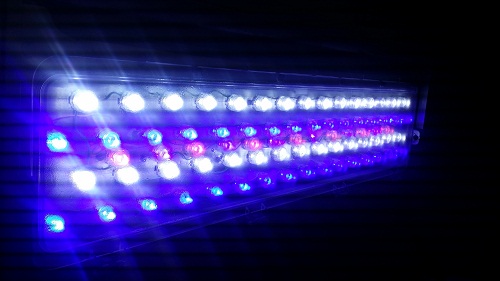
a 72 BridgeLux LED controller DIY kit
a Heatsink 86cmX15cm
2x 12cm fan kit
LED Colors combination 30 white 30 royal blue 6 magenta 6 violet
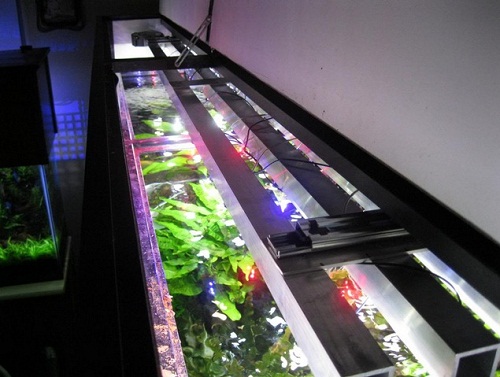
56 Cree LED controller DIY kit on 120 gal planted tank
added a fan driver (CH.5) and 4 Bridgelux 10,000K LEDs (Ch. 6) for moonlights
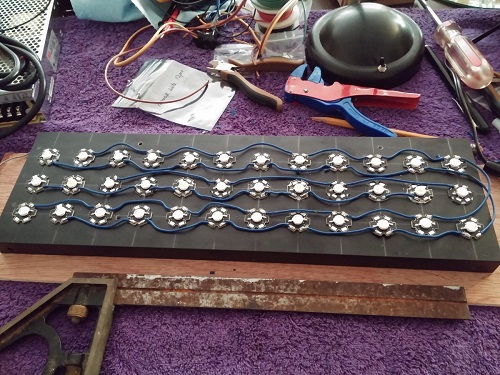
I laid my four rows into position, and riveted them into position, onto 3 pieces of aluminum flat strap. LEDs were glued into position.
The printout was handy to make sure + and - were laid out correctly, and wiring was correct.
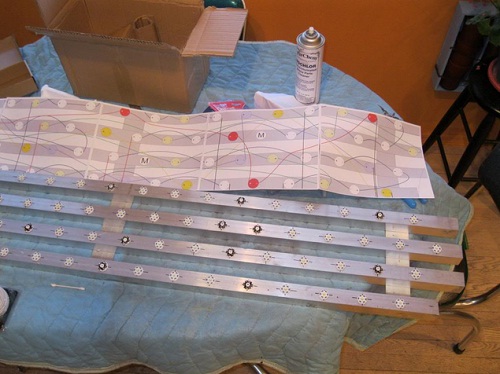
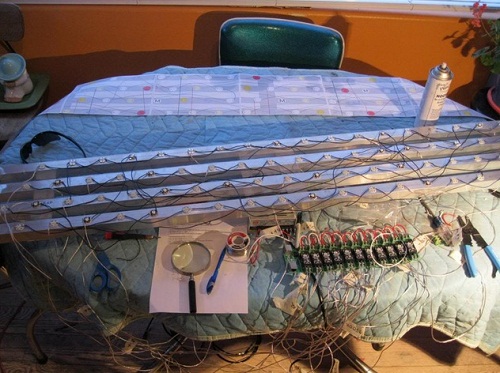
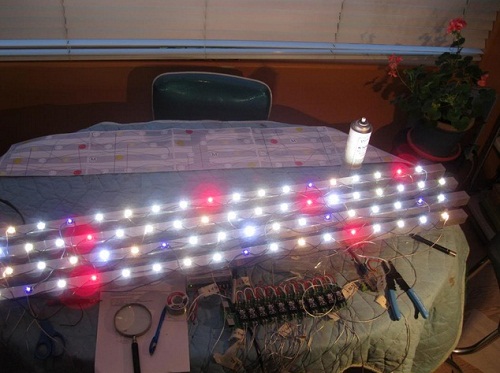
Here wiring is being soldered, and kitchen table mockup! You can see the 12 Meanwell driver boards, and 350 watt power supply.
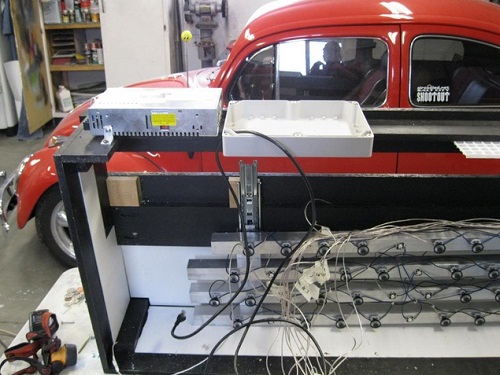
Here it is, mounted on the tank. I was bothered by the fact, the lights would be mounted towards the back of the aquarium,
so I installed the assembly on modified drawer slides, so the light can be centered over the tank.
I can also, slide them all the way to the back for aquarium maintenance access. These lights are incredible!
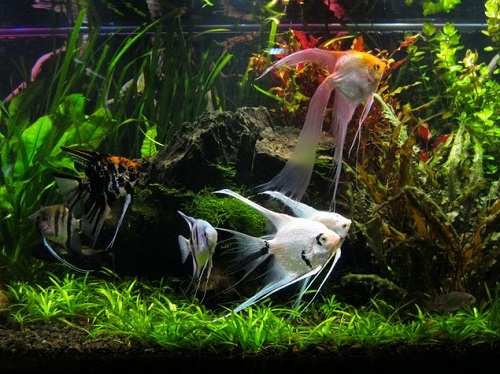
The color is superb! I am seeing increased plant growth already.
Channels 1-4 have a sunrise/sunset mode, The first and last half 1/2 hour, they ramp up from 0% to 100%, and back down at sunset.
Maximum brightness can be set, where ever you want it, and different start/stop times can be set on all channels.
36 BridgeLux LED controller DIY kit
I wanted more light than the compact florescent OEM lights would offer on my 29 gallon oceanic Biocube. The lay out of the leds that I decided was
W B W B W B W B W B W B
C M V C M V C M V C M V
B W B W B W B W B W B W
W=white, B=royal blue, C=cyan, M=magenta, V=violet
I am using a 12cm x 40cm x 2cm heat sink which will bolt directly in the hood area where the compact florescent bulb and reflector were.
I have marked out where the leds will go and have drilled the holes for the mounting bolts.
I tinned all of the LED before attaching them to the heat sink and then glued them in place using the adhesive that came with the kit. ( takes it a while to dry -- had to leave over night to keep it from moving LED when soldering.
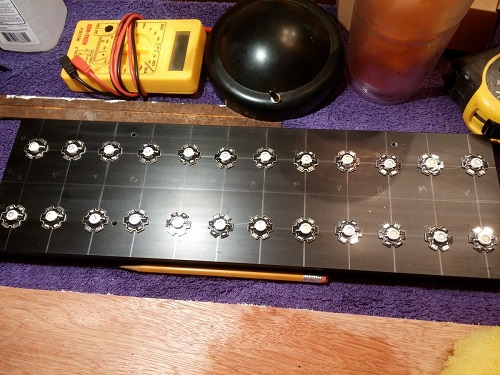
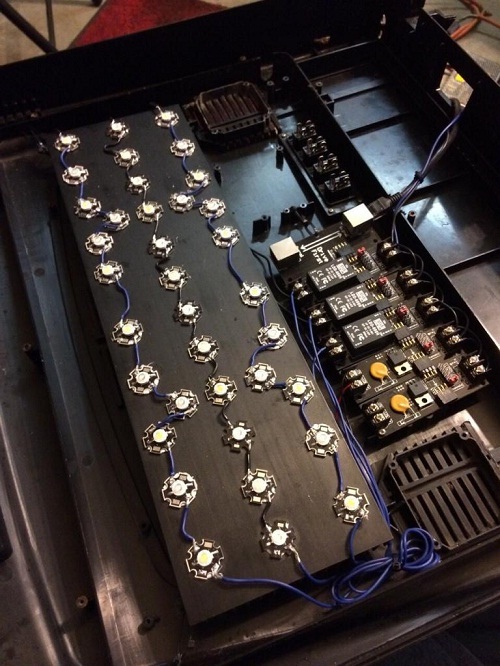
I starter wiring my LED in series by color. Each color LED has its own driver for W , B , and V. The C & M are on the same driver. This will allow the controller to be able to simulate Sunrise, Sunset and Moon lights.
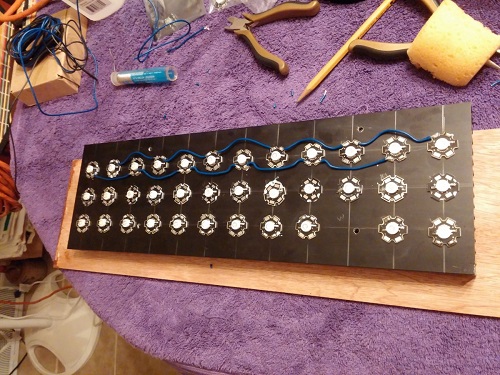
(I know one White LED is missing) Have to wait to install because the mounting bolt will be under that led.
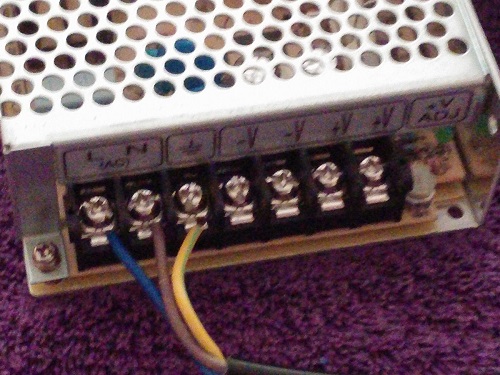
Hooking up power supply now.
Ok finally got back to finishing the lights. Heat sink mounted in the hood. Taking time and measuring several times the bolts mounting holes lined up perfect.
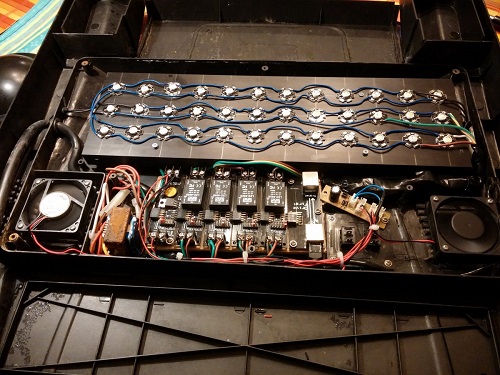
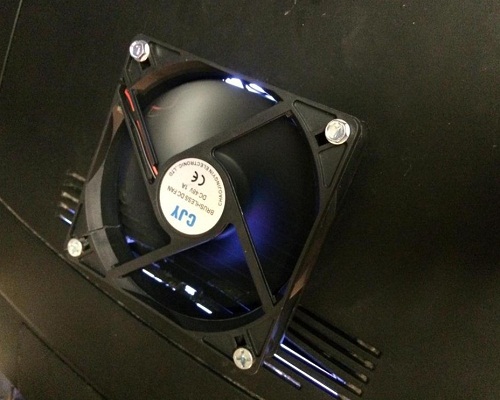
control boards are mounted. I had to use my existing fan power supply. I did not realize that i would have to have a 48 volt fan with f 48 volt power supply for the lights. I just ran it thru the last control board on the left. This board is a on/off only no adjustment the controller will run the fan on controller #5 and can be turned on and off at what ever time I decide. (really no need for fans have little to no heat exhange).
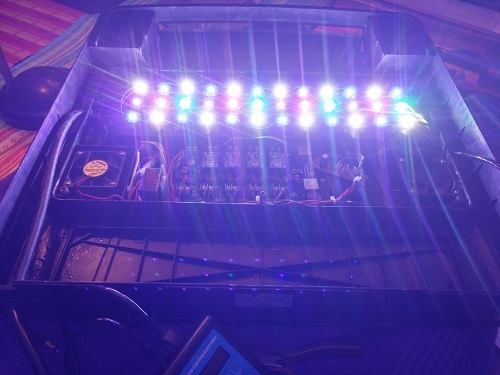
Tested LED's--
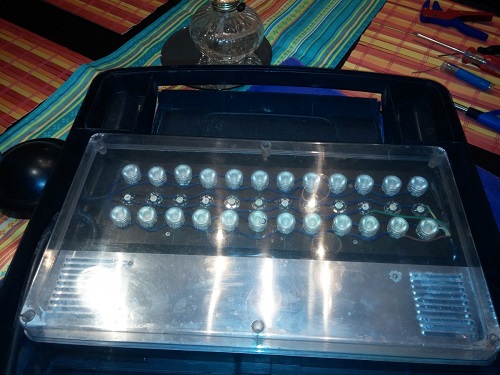
Completed the install of the 80 degree optics on the white and blue LED's only. Splash cover installed and ready to put it back together.
have hood installed and lights running with LED's running at 25% on all colors.
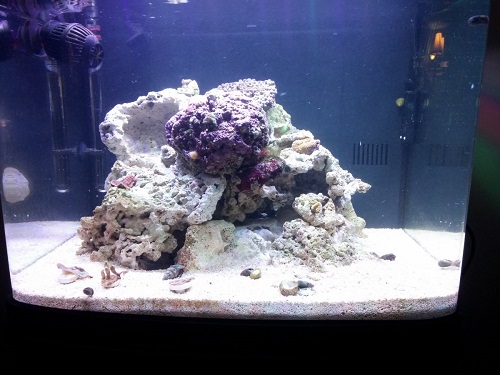
Moon lights running at 25% violet LED's.
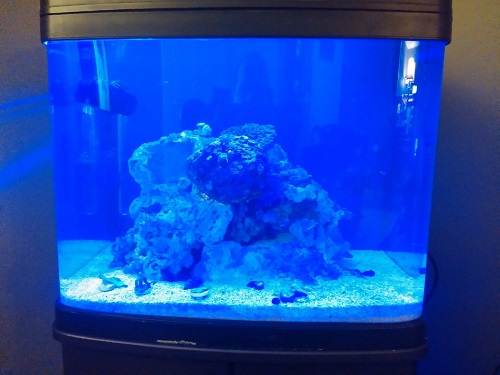
color does not show up as good thru this phone camera. Really looks Purple. I am very impressed with the output of this DIY kit for the money $215.oo shipped you cannot beat the results. Now looking for real growth from my frags.
To be continued...


